Prepared by the LSE Editorial Team. Reviewed by Joseph Andrade, Jr., RN, NRP.
Joseph works across emergency response, healthcare, and workplace safety and develops practical training for civilians, employers, and first responders.
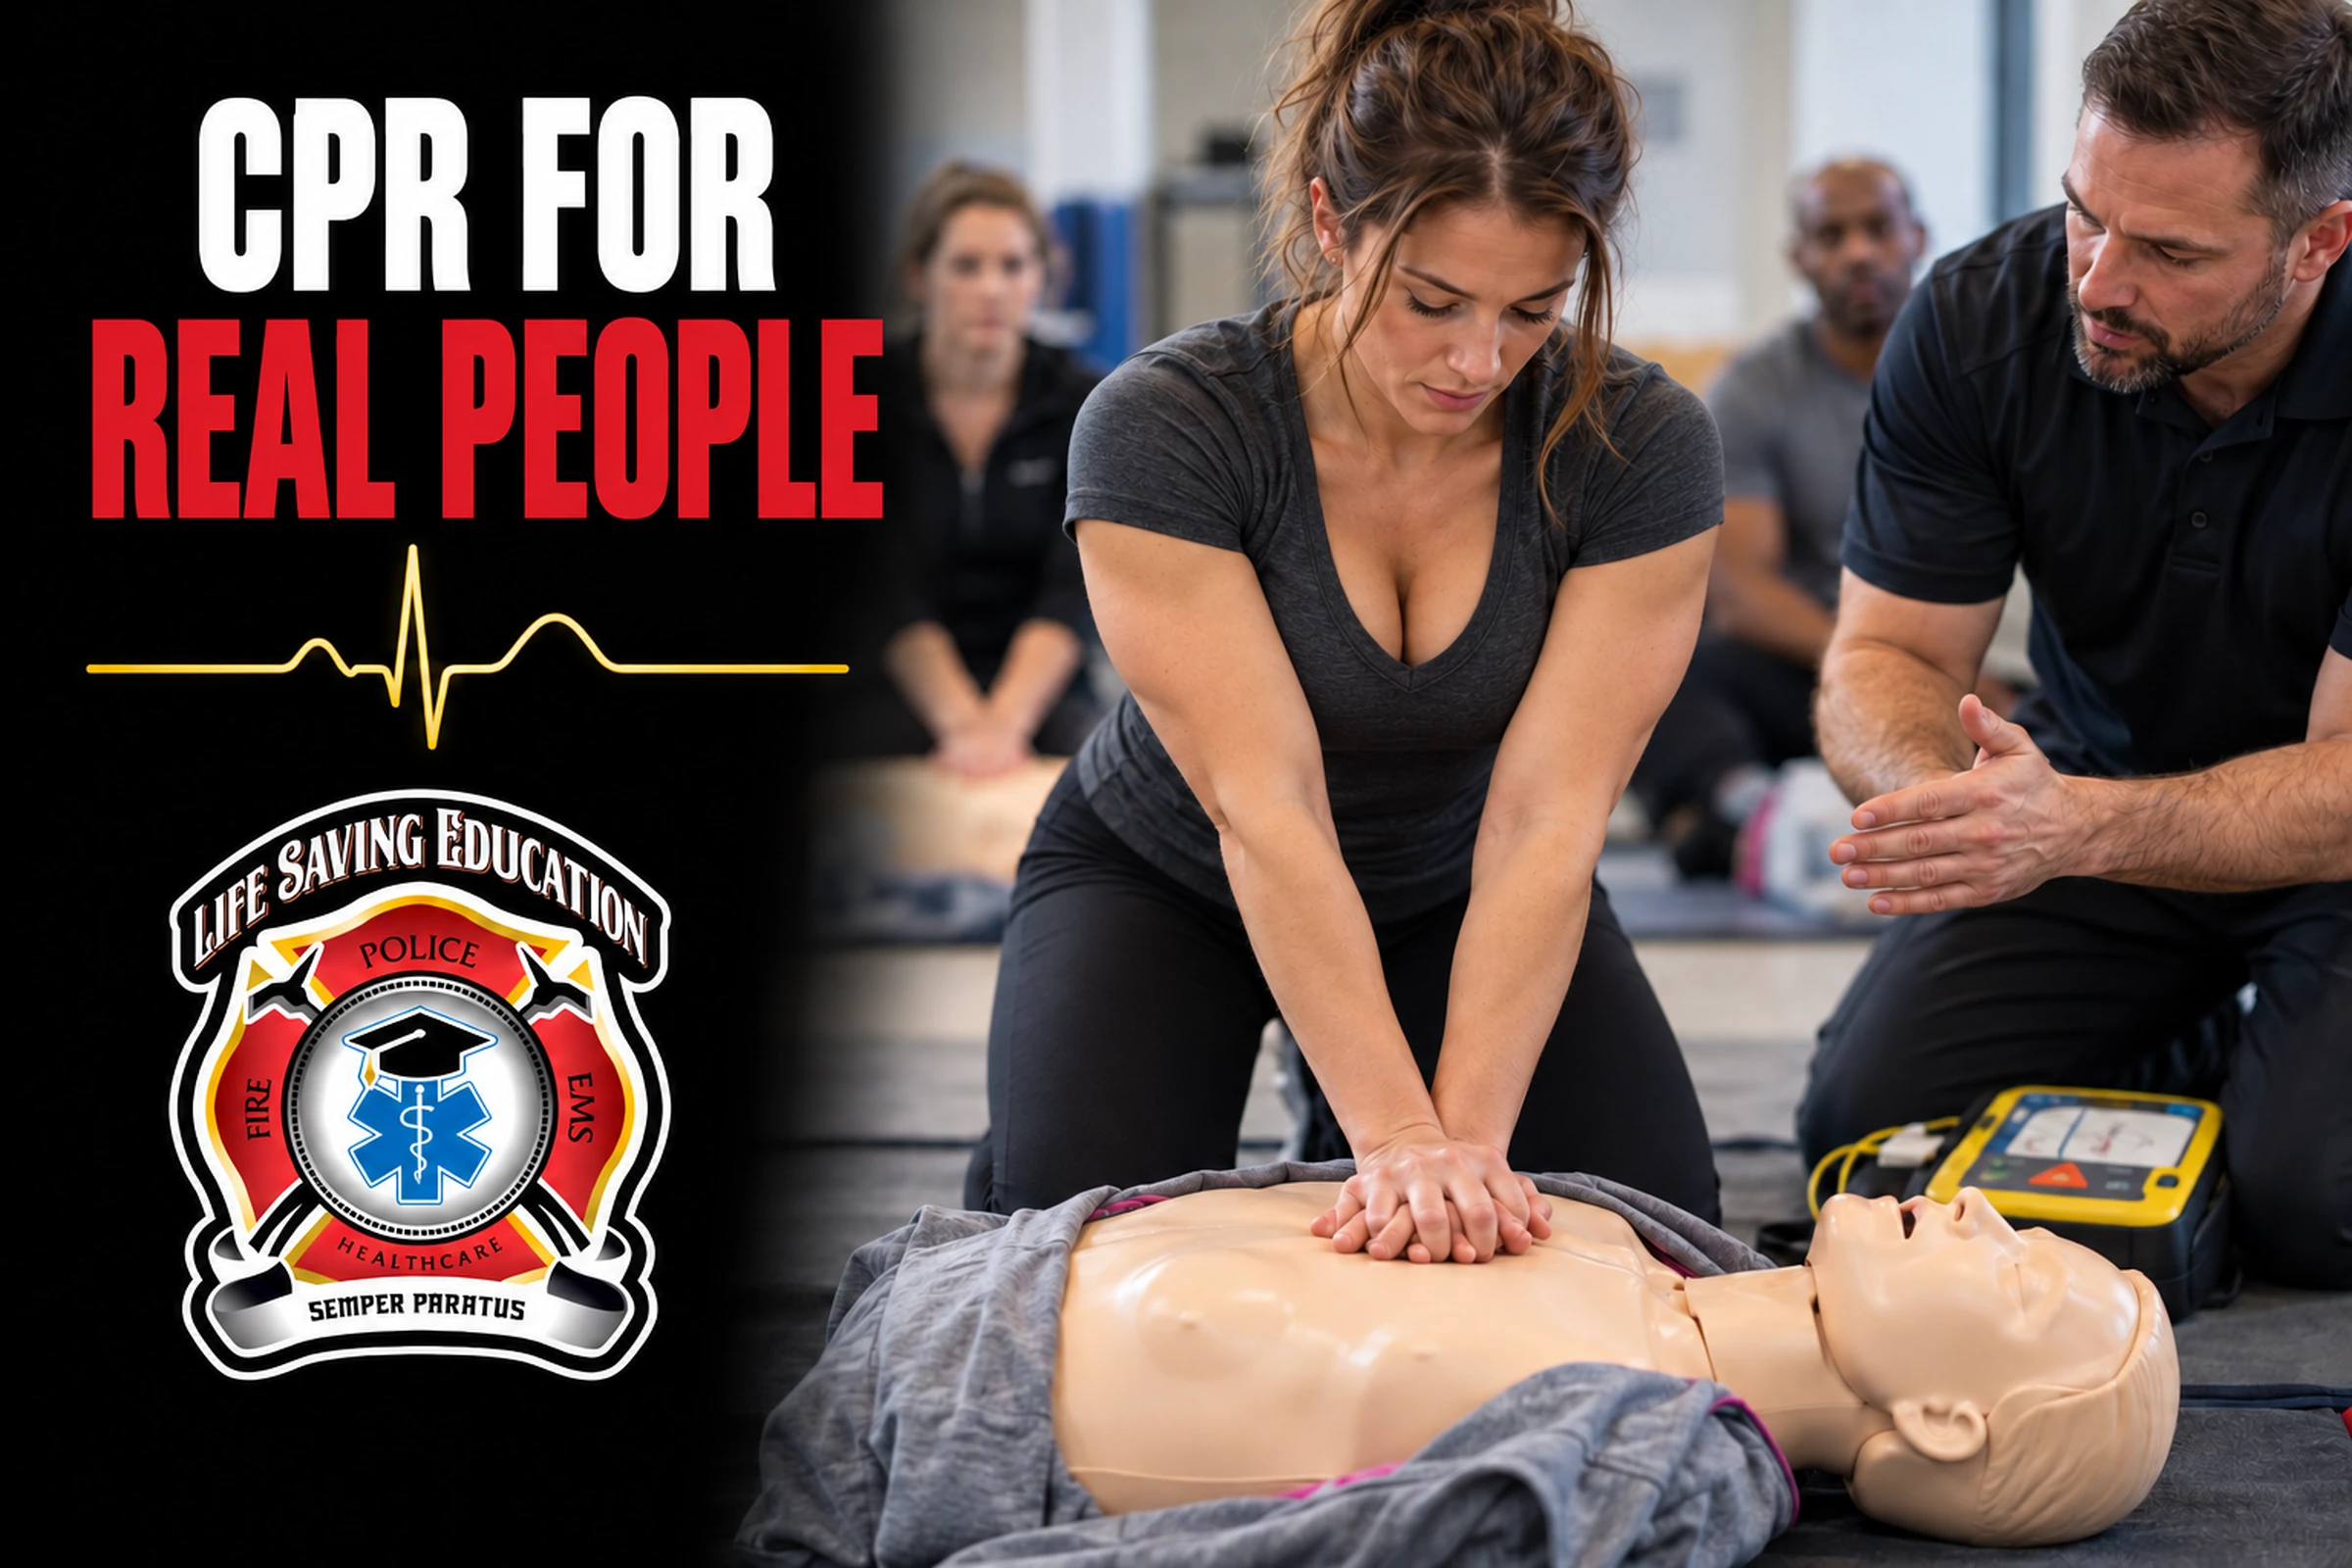
Realistic CPR manikins can help learners practice decisions as well as movements. A randomized emergency medical technician (EMT) training trial published in Simulation in Healthcare on October 1, 2026, reported improved willingness and confidence after training with a breast attachment. It did not measure patient survival.
A coworker collapses beside a desk. They are unresponsive and are not breathing normally. Someone calls 911 while another person goes for the automated external defibrillator (AED). You have practiced the next steps, but this person looks different from the manikin you trained on. Their clothing is in the way, the space is crowded, and other people are watching.
That moment deserves a place in CPR education. A learner can know the sequence and still hesitate when the situation feels unfamiliar.
🔬 What the realistic CPR manikins study found
A randomized trial published in Simulation in Healthcare examined this question among EMT students at North Seattle College. During a two-day CPR program, students trained with either conventional flat-chested manikins or manikins fitted with a ReviveHer breast attachment. They completed surveys before and after training.
The experimental group reported increased willingness to begin CPR across the body types and public/private settings tested. It also reported greater comfort unclothing a breasted body in a private setting, greater confidence performing compressions on an unclothed breasted body, and less fear of sexual-harassment accusations.
These were self-reported attitudes. The trial did not measure actual bystander CPR, survival, or how students responded during a real emergency. Its participants were EMT students, so the results cannot automatically be extended to every community CPR class.
The study at a glance
| Question | What the trial reported |
|---|---|
| Who | EMT students at North Seattle College |
| Design | Randomized trial during a two-day CPR program: conventional flat-chested manikins vs. manikins fitted with a ReviveHer breast attachment |
| Measured | Surveys before and after training (self-reported attitudes) |
| Reported | Increased willingness to begin CPR, greater comfort unclothing a breasted body in a private setting, greater confidence performing compressions on an unclothed breasted body, less fear of sexual-harassment accusations |
| Not measured | Actual bystander CPR, survival, or how students responded during a real emergency |
The practical question is whether our scenarios give learners a chance to work through concerns that a standard compression check may miss.
🧍 CPR has to work on the person in front of you
Training manikins have practical limits. They must be durable, cleanable and portable, and they need to support repeated skills practice. No device can reproduce every feature of a person.
Still, a student who encounters the same prepared torso in every exercise gets a narrow picture of cardiac arrest. Real patients differ in body size, anatomy, age, mobility and clothing. They may have breasts, surgical scars, implanted devices or medical equipment. An emergency can happen on a bathroom floor, beside restaurant seating or in a crowded workplace.
None of those differences makes prompt care less important. They can make the first few decisions harder for someone who has never practiced adapting.
An instructor cannot recreate every emergency. A well-chosen scenario can make a few of those decisions familiar before they matter.
🎭 Start the scenario before the chest is exposed
Compare two versions of the same class exercise.
Skills version
In the first, an exposed manikin lies on an open classroom floor with an AED trainer beside it. The student kneels down and begins.
Decision version
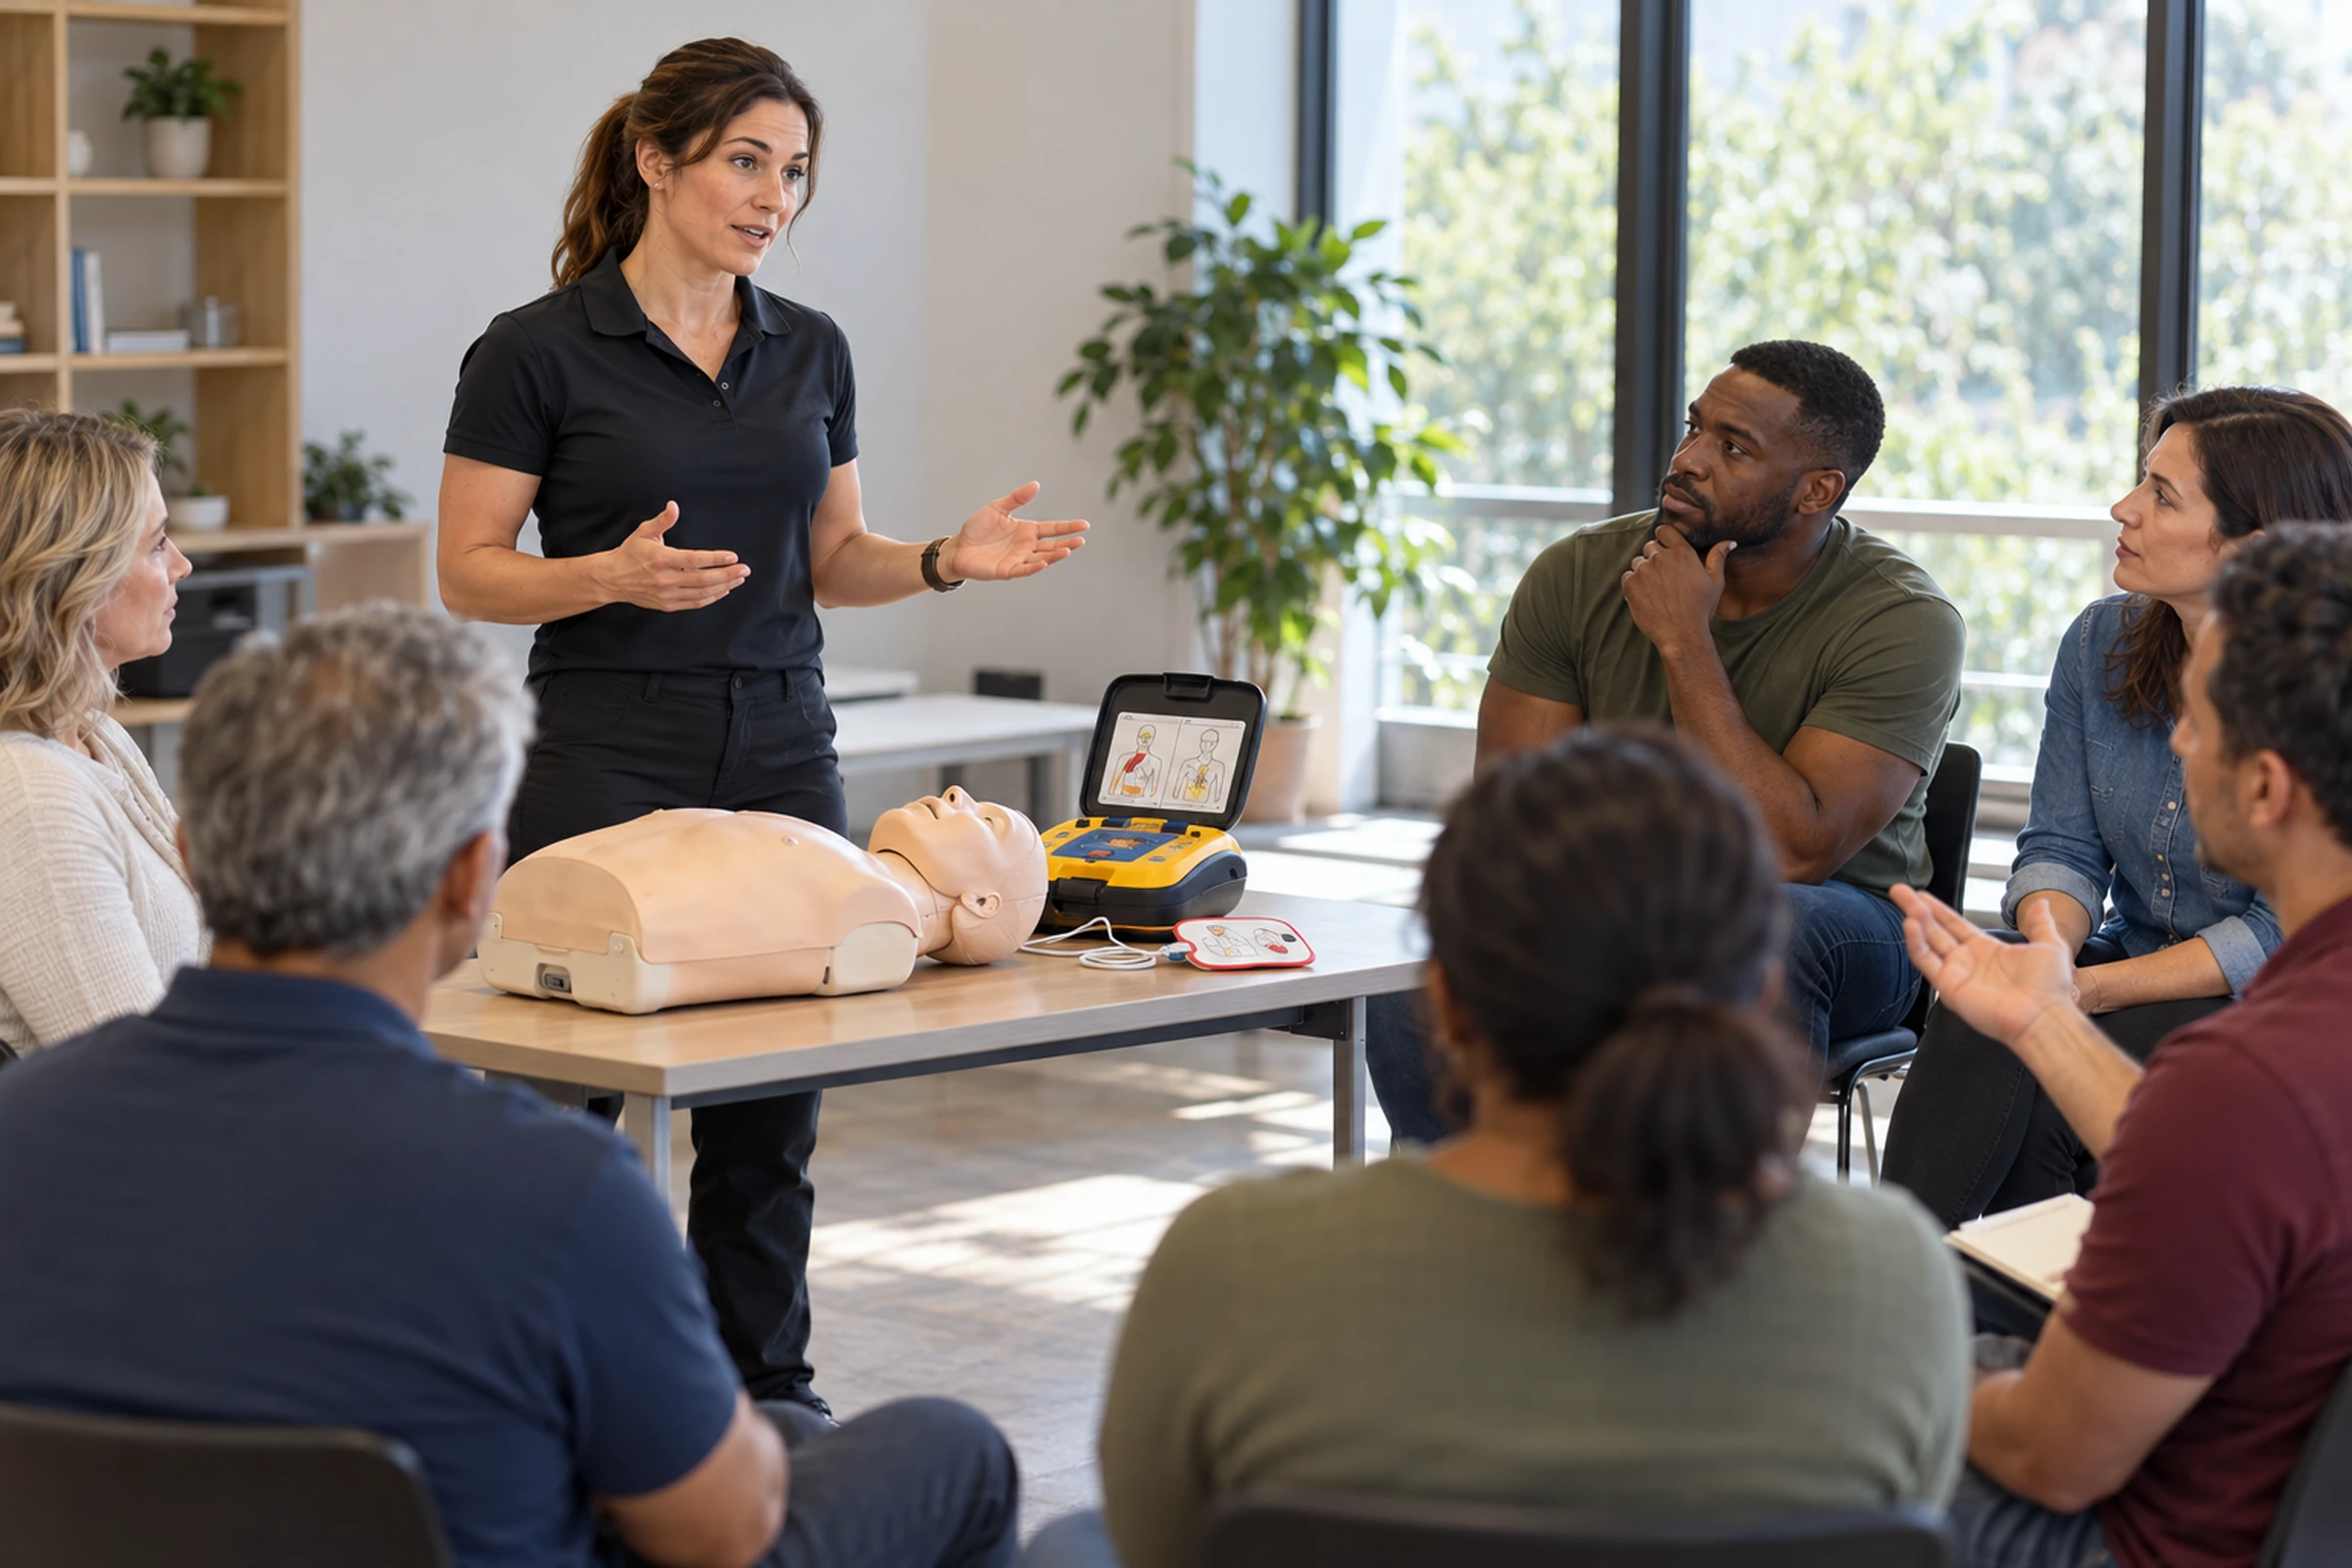
In the second, a clothed manikin represents a coworker who has collapsed beside a desk. The student must recognize the emergency, activate the response, direct someone to retrieve the AED and work around the furniture. Clothing has to be moved enough to provide care and apply pads correctly.
Both exercises have a purpose. The first is useful for learning and coaching a new skill. The second shows whether the student can use that skill while making decisions.
Progressing from one to the other does not require elaborate props. A shirt, a chair and a realistic starting instruction can change what the learner has to think about. The instructor should keep the environment safe and preserve enough room for effective practice.
🔗 Related: CPR and AED: How to Go From Bystander to Lifesaver

👕 Discuss clothing and privacy professionally
Students should hear a clear explanation of clothing and chest exposure before they encounter the issue in a scenario. For AED use, pads need contact with bare skin in the locations shown by the device and current course materials. Clothing that interferes with placement must be moved or removed.
The instructor’s tone matters. Jokes and embarrassment make a straightforward clinical task harder to discuss. A calm explanation gives students permission to ask useful questions: What needs to be exposed? Who can help? How do we keep other people out of the way?
Follow current American Heart Association (AHA) course materials, AED instructions, local EMS protocols, medical direction and scope of practice. A blog discussion cannot replace supervised practice.
🧩 Include variation without overwhelming beginners
Anatomy is one part of realistic training. Clothing, floor space, equipment availability and communication can also affect how quickly a learner gets organized.
Choose variations that fit the audience.
Office employees
Office employees might practice finding an AED and directing someone to meet arriving responders.
Healthcare staff
Healthcare staff may need to work around a bed and nearby equipment.
emergency medical services (EMS) learners
EMS learners may need to coordinate arriving personnel, airway equipment and a monitor in a confined room.
For a new student, add one or two challenges after the basic skill is reliable. If the exercise becomes so complicated that the learner cannot focus on compression quality, simplify it and build back up.
Useful variations include:
- Different clothing layers and appropriate manikin types.
- Public and private settings, with realistic attention to dignity.
- Limited floor space and obstacles that can be managed safely.
- AED retrieval instead of placing the trainer beside the patient at the start.
- A change in team size or a responder who arrives partway through.
- A bystander who needs a clear, specific instruction.
These are scenario-design suggestions, not outcomes established by the manikin trial. Their purpose is to give instructors a way to explore the barriers students describe.
🔗 Related: How to Prepare for Your BLS Provider Class
💬 Ask what made the learner pause
After a scenario, compression feedback tells only part of the story. Ask the student where they hesitated and what they were trying to decide.
A pause may reflect uncertainty about recognizing cardiac arrest, moving clothing, placing pads, touching the patient or taking charge in front of coworkers. Another student may have been waiting because nobody clearly assigned the next task.
Let the learner describe the problem before offering the correction. Then repeat the relevant part of the exercise. If clothing caused confusion, rehearse that transition. If the AED was delayed, practice the request and retrieval. If the student struggled to direct a bystander, give them another chance to make the instruction specific.
A useful debrief produces something the learner can do differently on the next attempt. General encouragement alone will not resolve the uncertainty.
A practical change for your next class
Before learners arrive, identify one decision your usual setup makes for them. Perhaps every manikin is already exposed, every AED is within reach, or everyone knows their role before the scenario begins.
Keep the basic skills station familiar. Then change that one condition in a later scenario and watch what happens. Avoid surprising students with unnecessary complexity or humiliating them for a predictable mistake.
What employers should check
Our CPR and AED training options can help employers choose a course for their responders.
A course completion card is one part of workplace readiness. Employees also need a response plan that works in their actual building and on their actual shift.
Ask your team to walk through these questions:
- Can employees locate and retrieve the AED promptly?
- Who calls 911, and who meets responders at the entrance?
- Can responders reach the person and make enough room to provide care?
- Have trained employees practiced clothing and pad-placement decisions?
- Does the plan work after hours and on every shift?
- Do vacations, turnover and multiple floors leave gaps in trained coverage?
A walkthrough may reveal a locked door, an unclear address or a device location that new employees do not know. Those are practical problems an employer can address alongside certification training.
Our guide to CPR and AED readiness for bystanders covers the broader response. Healthcare learners can also review how to prepare for a Basic Life Support (BLS) Provider class.
Use realism to support the skill
The goal is a learner who recognizes the emergency, starts care, uses the AED and works with the people nearby. Realistic simulation should support those actions.
Teach and coach the fundamentals first. Add a manageable scenario, watch for hesitation and allow another attempt. For more experienced teams, introduce the equipment, staffing and environmental problems they actually face.
✅ Key Takeaways
- A learner can know the CPR sequence and still hesitate when the situation feels unfamiliar.
- In the trial, EMT students trained with a breast attachment reported more willingness to begin CPR. These were self-reported attitudes, not survival outcomes.
- Some scenarios should start with a clothed manikin so learners practice moving clothing to provide care and apply pads correctly.
- Add one or two challenges at a time, and simplify if the learner cannot focus on compression quality.
- Debrief by asking what made the learner pause, then repeat that part of the exercise.
- Employers should walk through AED retrieval, 911 calls and trained coverage on every shift.
❓ Frequently Asked Questions
Can realistic CPR manikins reduce hesitation?
The trial found improvements in EMT students’ self-reported willingness, comfort and confidence. It did not establish that the training changed real emergency behavior or survival.
Do instructors need a breast attachment for every CPR class?
The study does not establish a universal equipment requirement. Instructors should follow their course requirements and can also introduce clothing, AED retrieval and communication into appropriate scenarios.
How can instructors make CPR practice more realistic?
Teach the basic skill first, then add one or two manageable decisions. A clothed manikin, nearby furniture or an AED that must be retrieved can give learners something practical to work through.
What should employers check beyond course completion?
Check AED access, emergency calls, responder access and trained coverage on every shift. A workplace walkthrough can reveal obstacles that a classroom exercise misses.
Training You Can Count On. When Seconds Count.
Bring the lesson into your next training session
Find training for your role, workplace or response team.
📚 Authoritative Sources
- Sharma et al., CPR breast-attachment randomized training trial
- American Heart Association CPR and ECC guidelines
Hero: AI-generated educational illustration, not an incident photograph.